
Almond milk…all right, it’s not really “milk” as we know it, is it? It’s the broken down bits of the calcium-packed almond which have been soaked overnight and then whizzed about with water, dates, vanilla, and a pinch of sea salt….and we call it “milk.”
I just got home from three weeks of visiting family and friends in Toronto and was treated to homemade almond milk when I visited my niece, and sister. My niece makes it so often, her little ones know the recipe and remind her if something’s been left out. I thought it was a difficult process. It’s not! It is one of those recipes that requires time – soaking time for the nuts. You can’t just take almonds out of the package and make the milk. From the recipes I’ve consulted, and using my niece’s experience, the nuts need to be soaked for a good 8 hours. Soak them overnight and make your milk in the morning, or, pop the almonds and water into a glass container before you go to work in the morning, and make a batch when you get home.
The kitchen equipment you need for this is a blender and a nut milk bag. The nut milk bag (as opposed to a cheese cloth or sieve) is a huge help in processing the ground nuts into milk. I picked one up at a local health food shop. They are easy to locate online, as well. Prices range from 5 to 20 dollars on this. If you think making nut milk is going to become a regular part of your kitchen practice, a good quality nut milk mesh bag would be a wise investment.
For the recipe, it’s a handful of ingredients:
1 cup raw almonds
3-4 cups filtered water (3 cups = creamier, 4 cups = thinner milk; play with it!)
2 medjool dates, pitted (can also use a glug of maple syrup in place of the dates)
splash of vanilla
pinch of sea salt
shake of cinnamon
And, away you go!
Directions
1. Put the almonds in a glass jar and add enough water to cover them with about three cms extra water on top. Leave this to soak on the counter for about 8 hours. When they are ready, you can leave as is, or peel them. (Peeling the almonds can give a creamier look to the almond milk.)
2. Place the peeled/rinsed/drained almonds into a high speed blender and add 3 to 4 cups of filtered water, the dates, vanilla, and pinches of sea salt and cinnamon. If you want to use maple syrup, instead of the dates, as a sweetener, go for it! As well, you may not want any sweetness in this – it’s up to you – add or delete as you’d like. Whizz this all around on the highest speed for a good minute.
3. Next, put the nut milk bag into a bowl or vessel large enough to accept about a litre of liquid. Pour the almond milk into the bag and gently squeeze out the milk, into the bowl. Pour the milk into a glass jar with a tight fitting lid, and refrigerate. It lasts about 3-4 days.
4. You can turn out the almond meal and make use of this in a couple of ways: it can be the base for a hummus (I tried my niece’s version and it was spectacular!); it can be used in muffin, cookie, or brownie recipes; you can dry it out and add it to granola. So much goodness in the ground almonds that it’s a shame to dump it in the bin. As well, you can freeze the meal and use it later.
So there you have it. Almond milk… easy peasy, nut bag squeezy. Sorry, couldn’t resist 🙂
I like to use almond milk in my smoothies and the quantity this recipe produces will be perfect for what I need for my breakfasts during the week. I’m going to play around with using cashews, seeds, and hemp which will add more layers of flavour and protein.
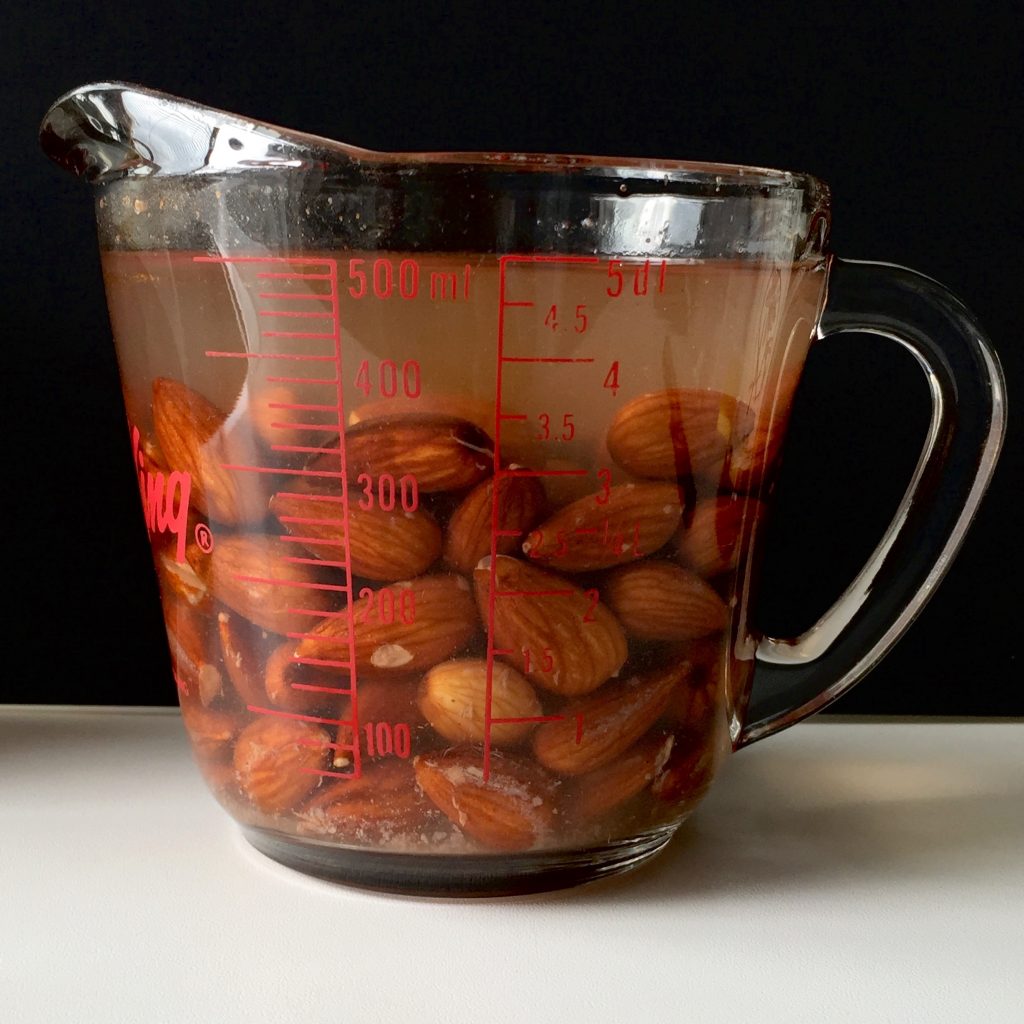
1 cup of almonds, soaking.
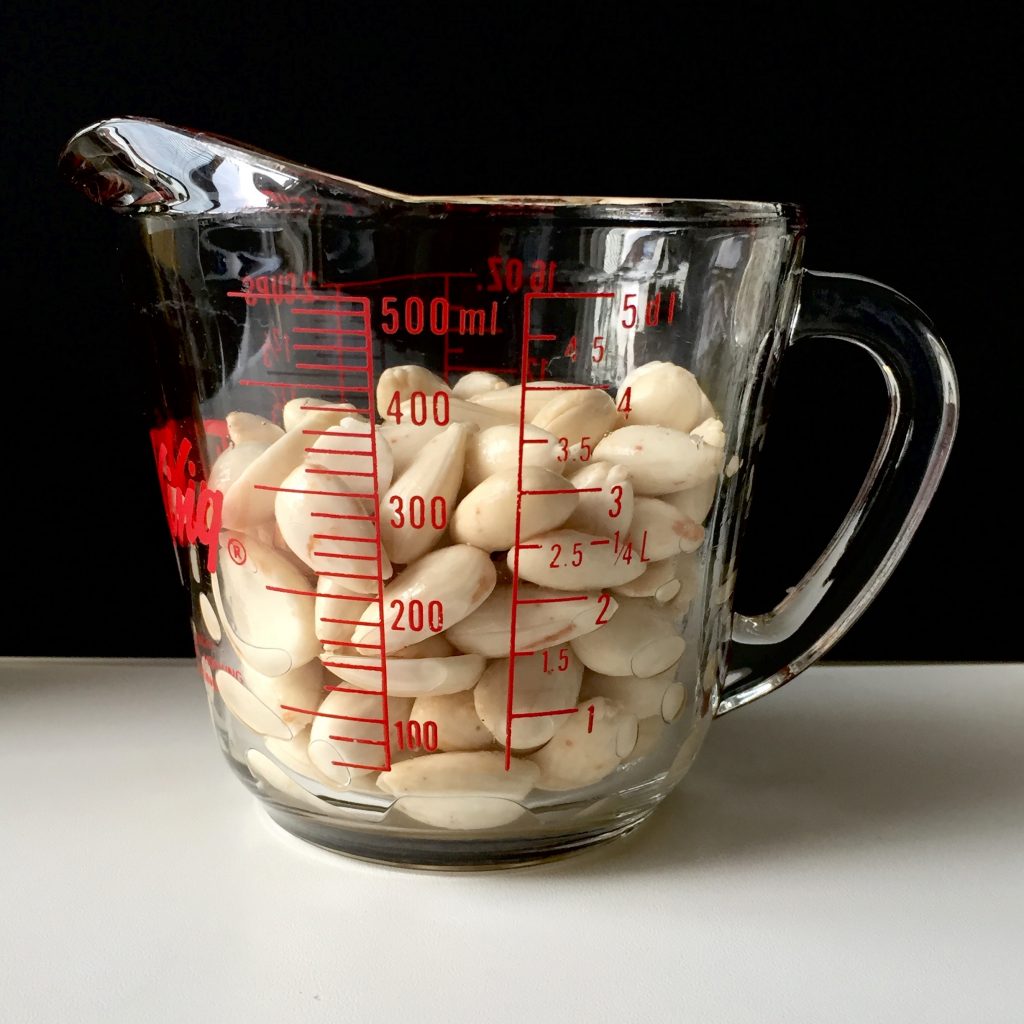
Almonds, soaked, peeled, and rinsed – ready to go!
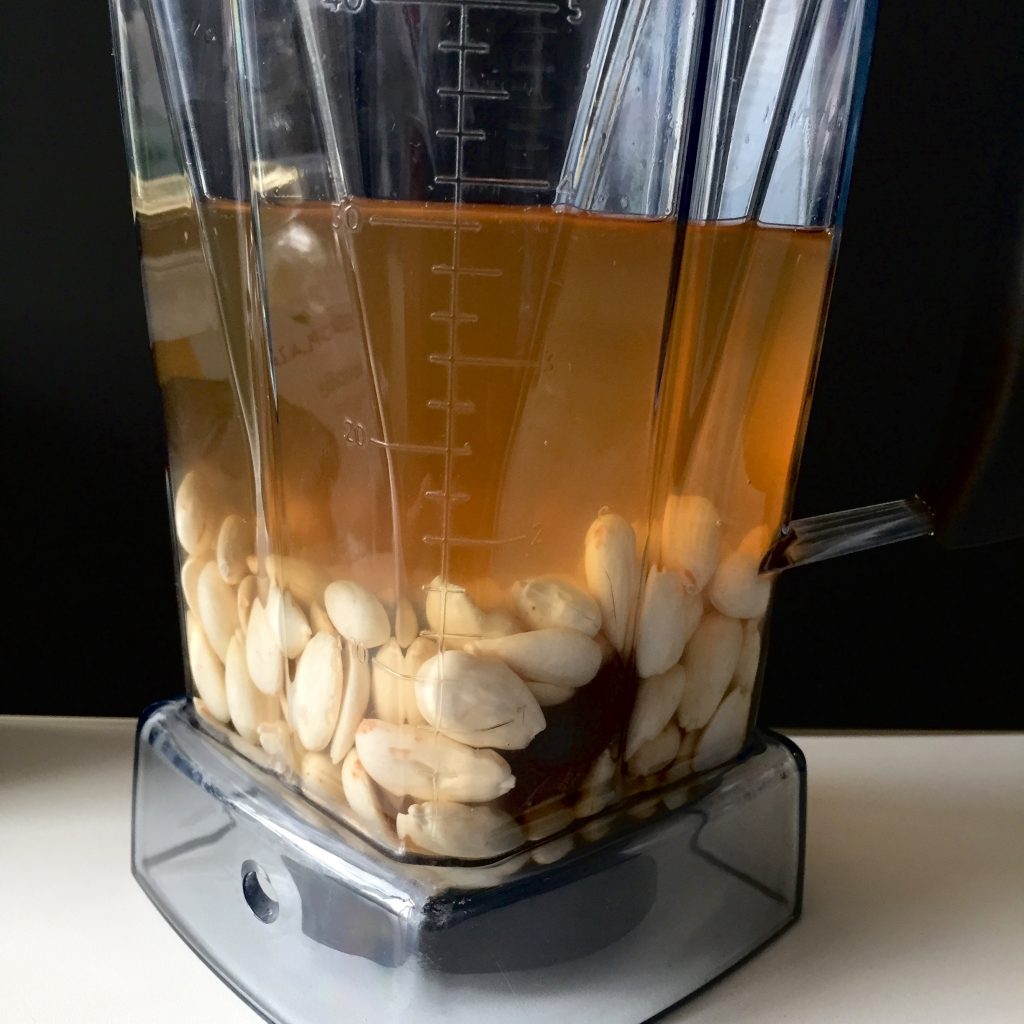
Into the blender: almonds, water, dates, vanilla, cinnamon, and salt.
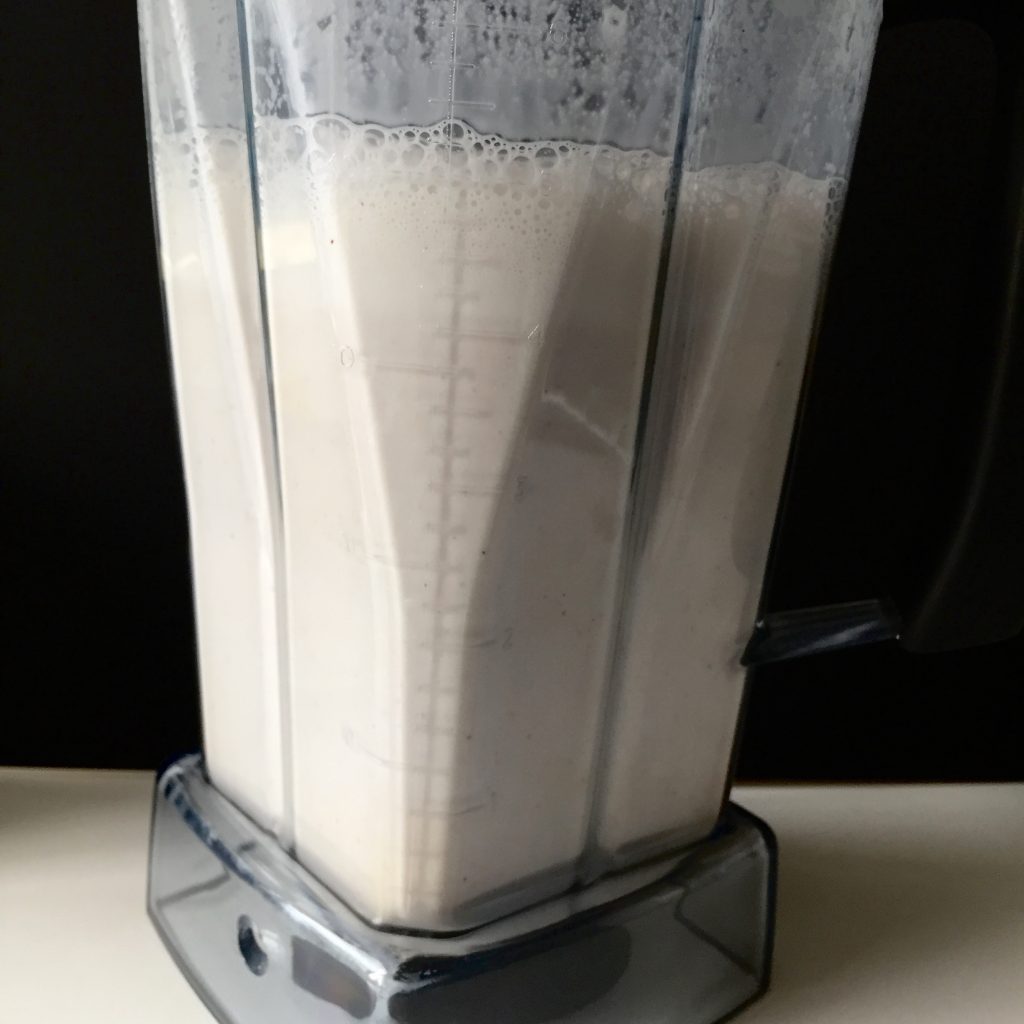
After one minute of high speed blending.
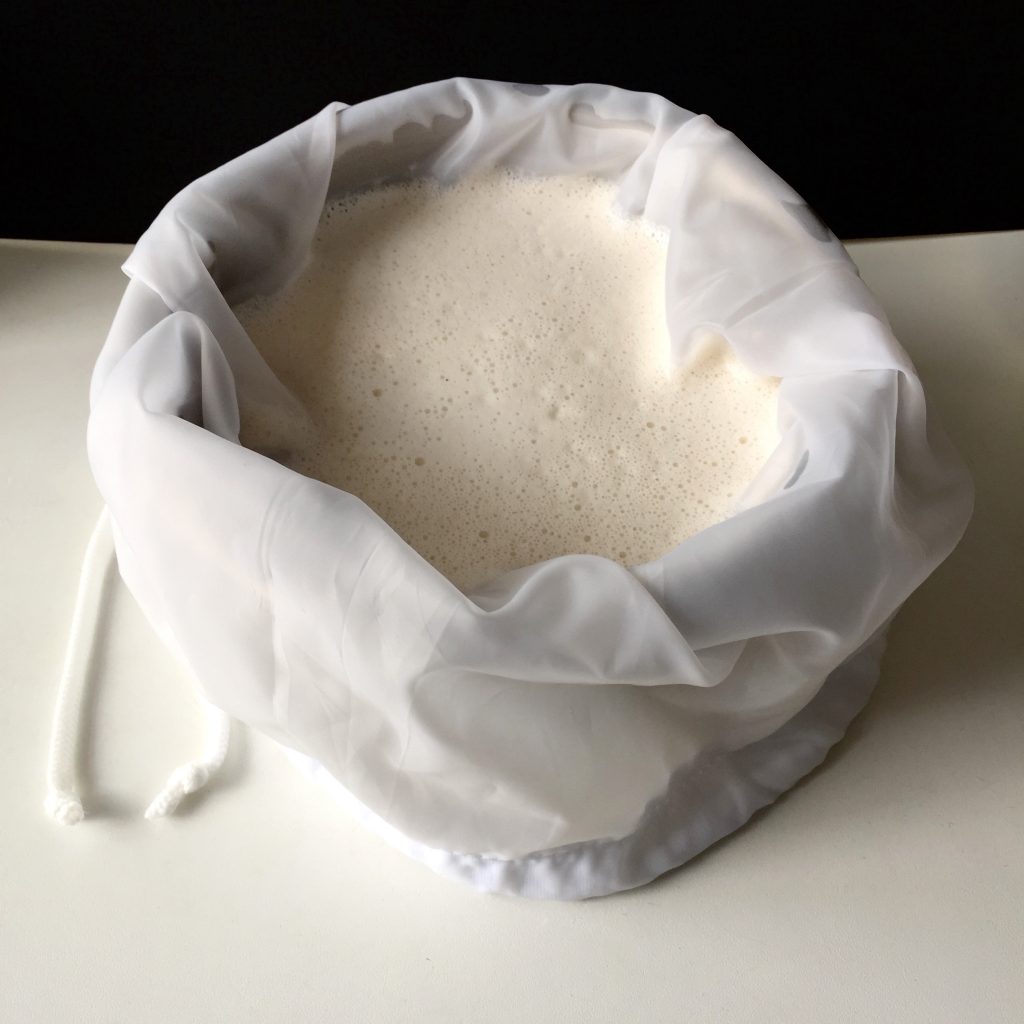
Into the mesh nut milk bag.
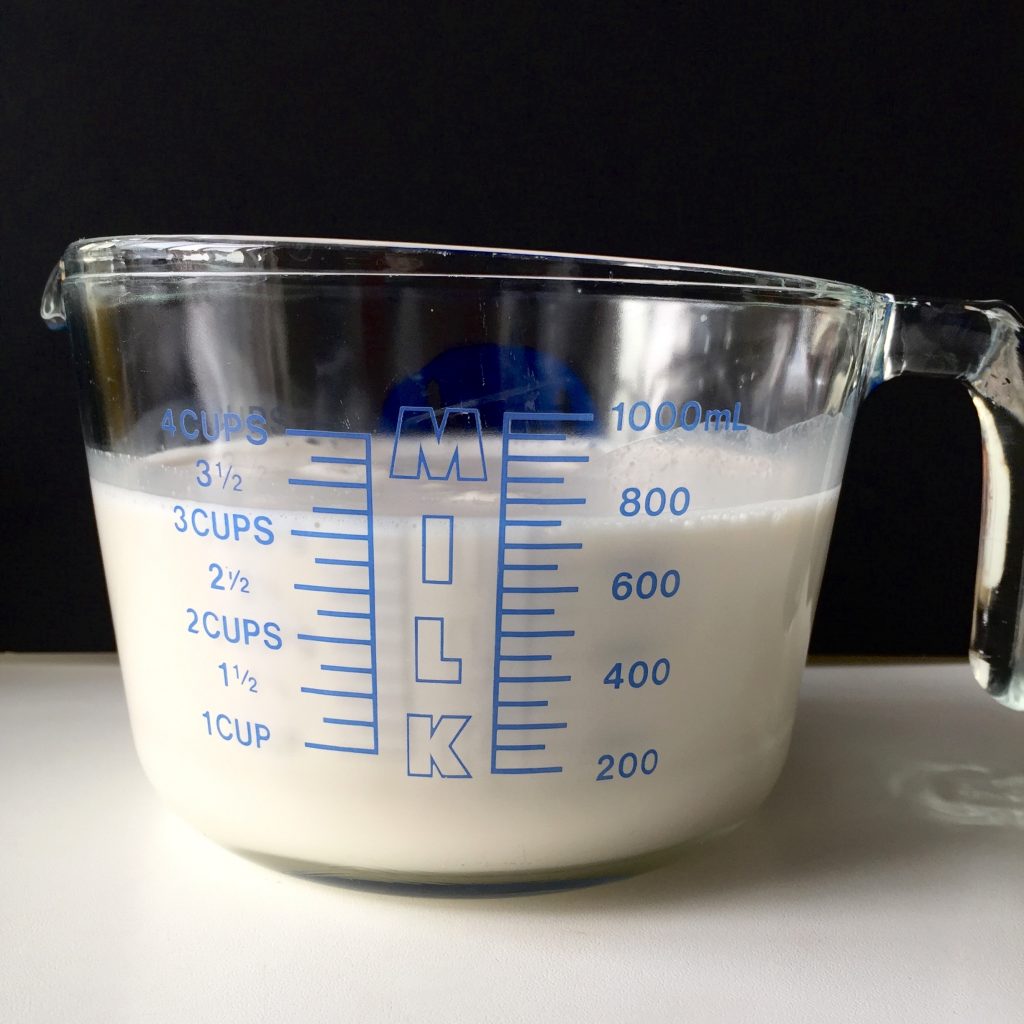
The final product!
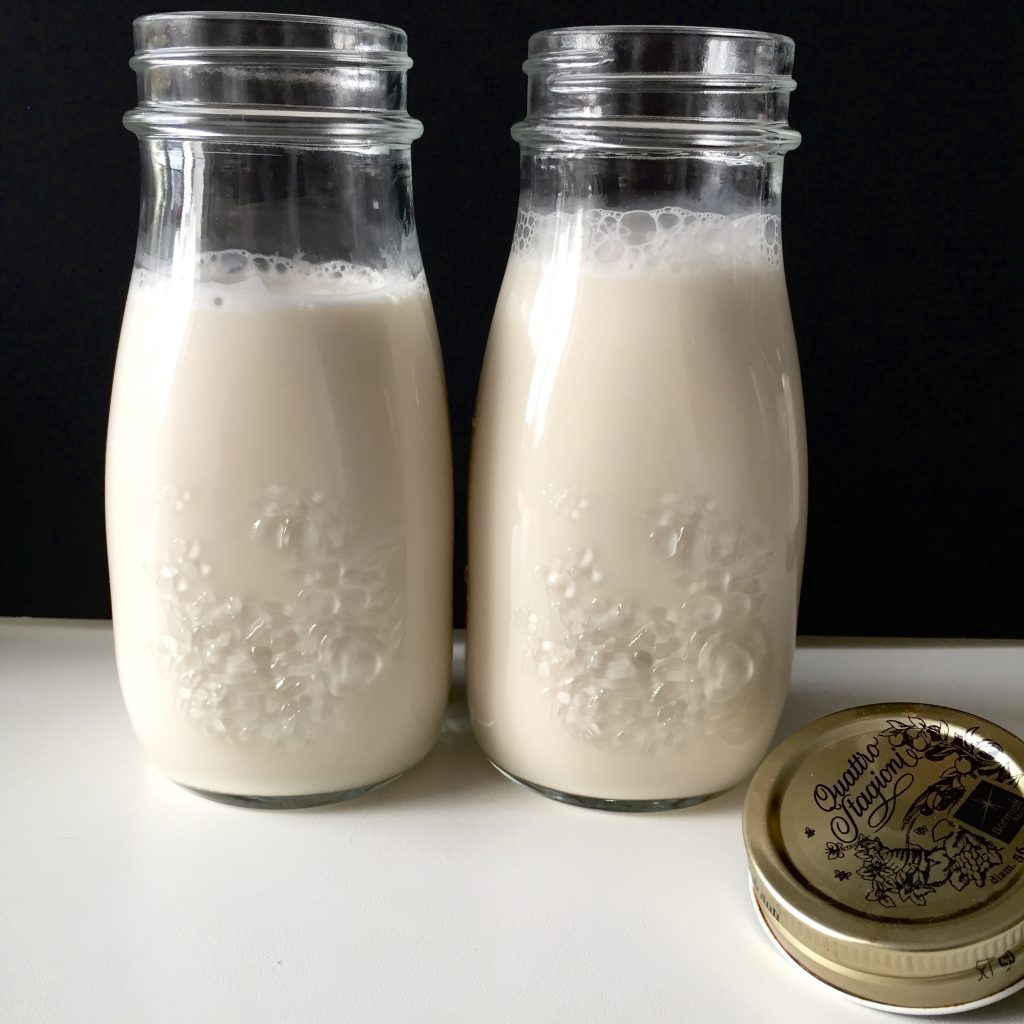
Perfect for storage.
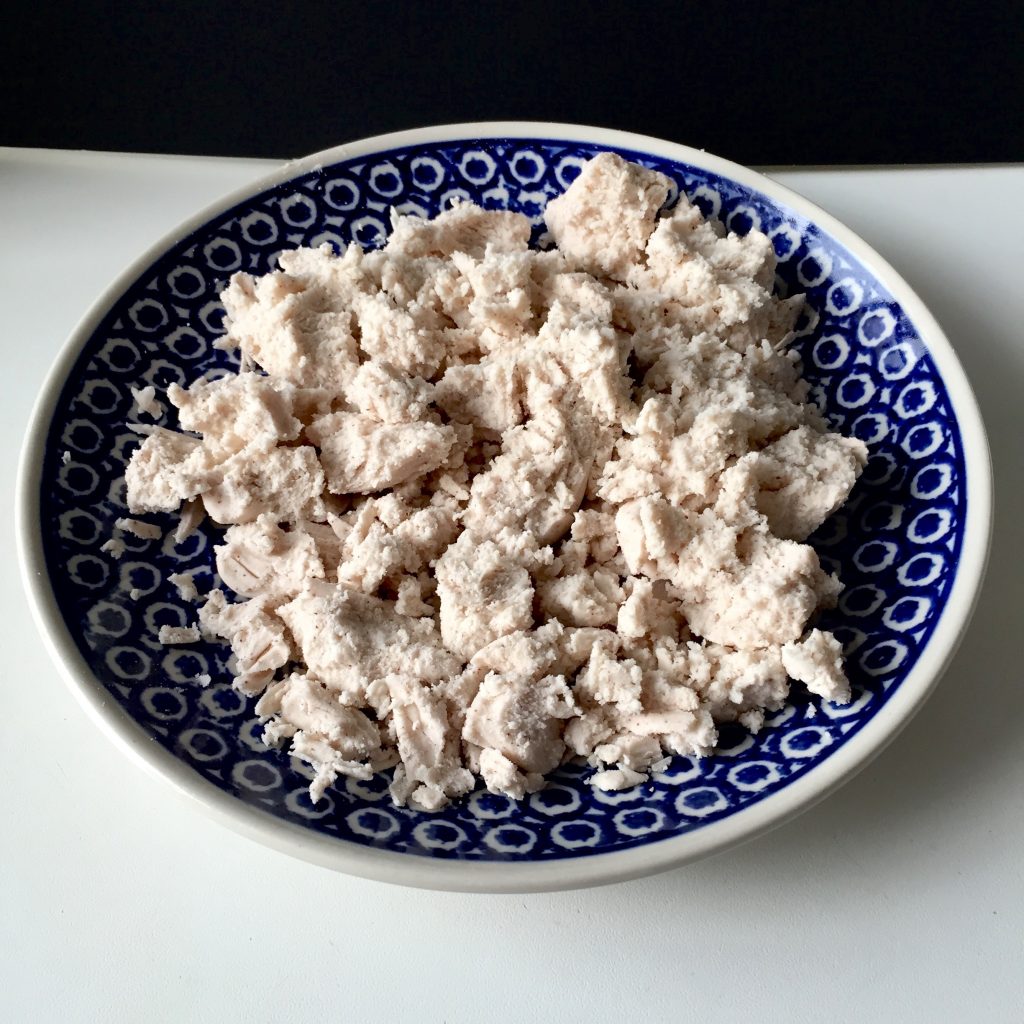
Almond meal. I’m going to turn this batch into hummus!