This recipe was inspired by Jean Kwok’s, Searching for Sylvie Lee.
Book reference: p201, in NYC, Jim is away on conference, Sylvie and Amy are baking brownies from a box mix. “…but since Ma had never used our oven, she had never learned to bake. I decided we would make brownies from a mix.”
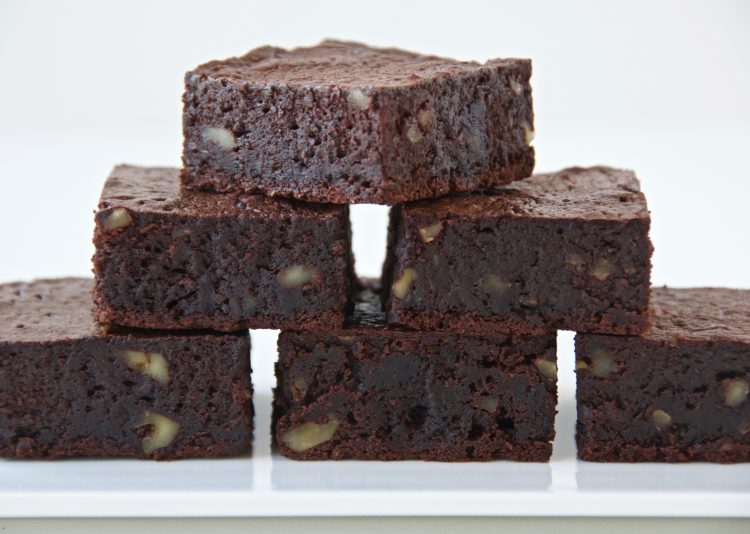
Gluten free and chocolate all in the same dish? Fantastic! This recipe has evolved over the years. What started as a chocolate cake, became chocolate truffle-cakes, and now it has become my easy recipe for chocolate brownie-esque goodness. Traditional brownies have a bit of a chewy texture. These, while heavy on the chocolate, are closer to a dense cake than they are to a brownie. As the saying goes: a rose by any other name…, along with these brownies, will taste as sweet.
The thing that’s great about this dessert is that you may already have the ingredients on hand. As the instructions show, the prep is easy, and a quick 25 minutes in the oven means you can have warm chocolate goodness on your plate in record time! This dessert can also be made in a round cake tin and sliced out in wedges to make for a fancier plate. Add a dollop of ice-cream or whipped cream on the side and you’ll have a gorgeous balance of flavours. Enjoy every chocolatey bite!
Prep Time: 15-20 minutes
Cooking Time: 25 minutes
Total Time: 45 minutes
Serves: 12-16 squares
Ingredients
- 125g (½ cup) unsalted butter
- 100g (4 oz) 72% dark chocolate bar, broken into bits
- 150g (¾ cup) granulated sugar
- 3 eggs
- 1 tsp pure vanilla extract
- 50g (½ cup) cocoa powder, sifted
- pinch of salt
- 50g (½ cup) toasted walnuts, coarsely chopped (optional)
- 35g (¼ cup) chocolate chips (not so optional…)
- Powdered sugar or cocoa powder for dusting, if you wish
Directions
While the oven is heating to 180C/350F, melt the butter in a small saucepan over low heat. When it has melted, add in the chocolate, and stir until it is melted and incorporated with the butter. Set this aside on another burner to cool down a bit.
Prepare a 20×20 cm (8×8 inch) pan by coating it with a bit of butter and then lining it with baking paper. I find using two pieces of baking paper works well for this. First line the pan in one direction, with a strip of paper long enough to have a bit of overhang over the edges. Then line it in the other direction, again with some overhang. Lightly butter this paper as well, just the bottom.
In a large mixing bowl, tip in the sugar and add the cooled chocolate and butter mixture. Add the vanilla. Using a whisk, incorporate these ingredients. Now add the eggs, one at a time, whisking after each addition. (Make sure the chocolate/butter is not hot because you don’t want to cook the eggs!) Now it’s time to add the cocoa and salt, and give it another, more gentle go, with the whisk. When all of the cocoa powder has been incorporated successfully, stir in the nuts and chocolate chips and pour the batter into your prepared pan.
Bake for 20-25 minutes. I always like to check on my baking a few minutes before it’s supposed to be done, just to make sure. Ovens vary, so it’s always best to be on the safe side! When you see the top of the brownies start to look like they’ve formed a thin crust on top, test the centre with a wooden toothpick; it should not be soggy-wet, but come out with a bit of crumbly batter attached.
When the brownies are ready, remove the pan from the oven and allow to cool on a wire rack for about 20 minutes. At this point, you’ll remove the brownies from the pan using the overhang from the baking paper. Place them back on the wire rack and allow to cool completely. When cool, dust with powdered sugar or cocoa powder, transfer to a cutting board, and cut into your desired number of squares.

