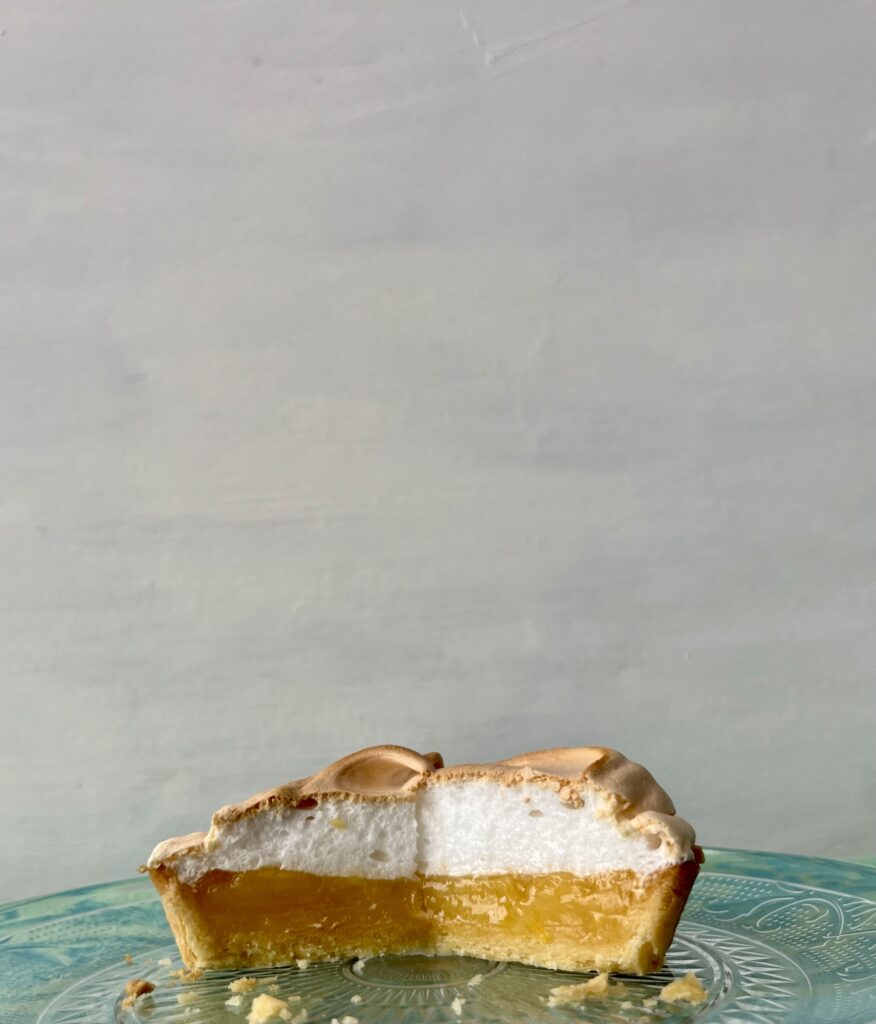
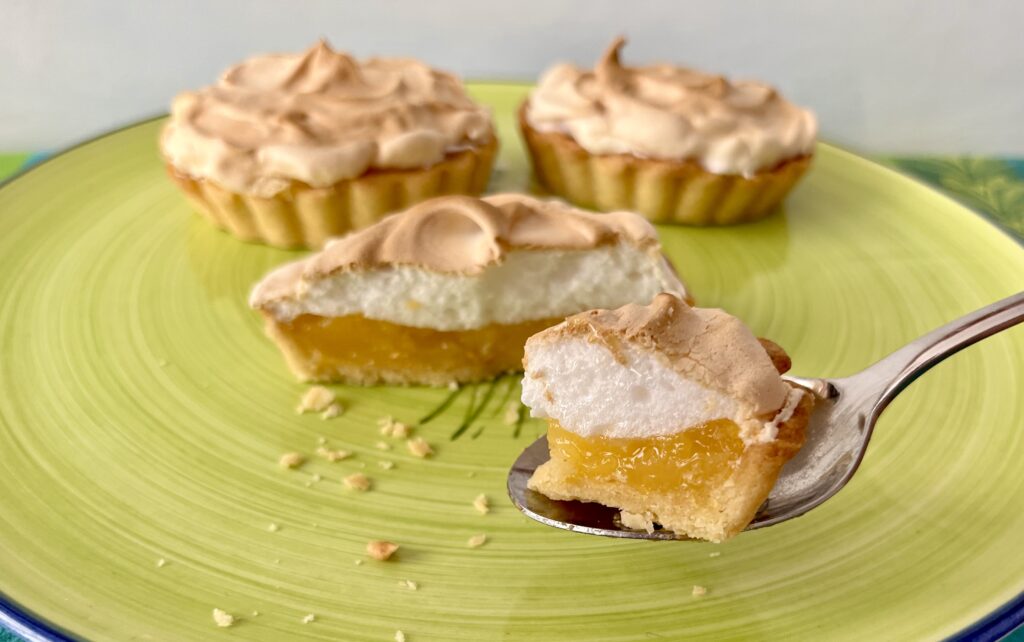
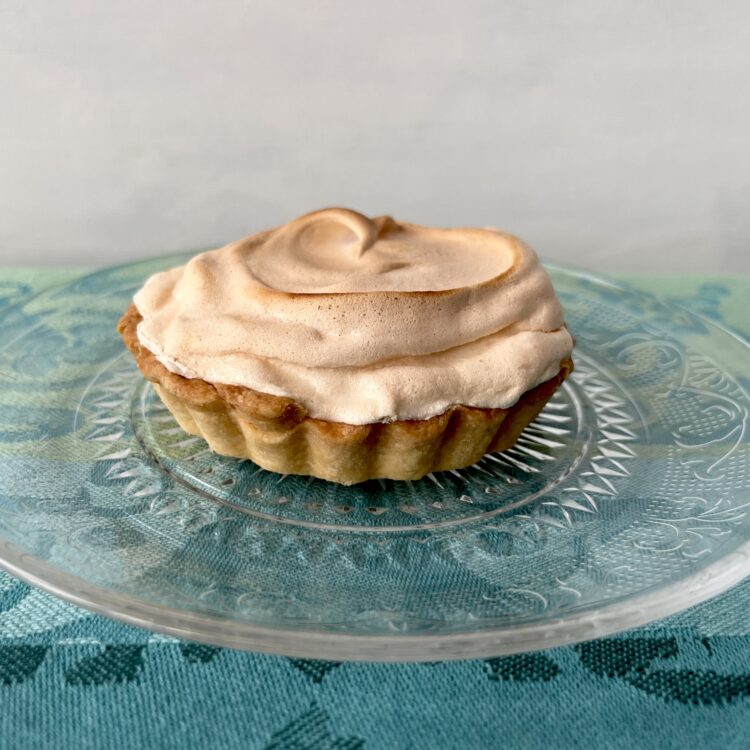
 Sweet and tangy, fluffy and crisp. Traditional combinations marry perfectly in these individual tarts.
Following on the heels of my Peach Galette recipe, I have for you a ‘same crust, different filling’ in the form of these beautiful and individual Lemon Meringue Tarts. This time around, we’re using the sweet shortcrust pastry to line individual tart forms then add a delicious sweet and tangy lemon filling, topped with fluffy meringue.
In its simplest form, Lemon Tarts are quite common in Europe where you’ll often find them as is, or topped with fresh berries. The filling in these tarts is typically a curd, meaning there is an addition of butter to the mixture. Lemon Meringue Pie is a classic dish found in many a North American diner; replacing the butter is cornstarch to help with thickening and setting.
The recipe has a few steps and processes to it each contributing to a final tart that is well worth your time, effort and love. A few notes: it’s best to plan ahead for this recipe because the dough will need some resting time in the fridge. An extra hour will be plenty. You will need a total of six eggs for this recipe. (On a technical note, I suggest using tart forms that have a removable bottom for ease of release when the tarts are baked.) Finally, if you would rather make a full pie rather than tarts, go for it. Use a flan tin with a removable bottom and be ready to keep an eye on your baking times.
A sassy glass of Pink Champagne or Prosecco would be a delightful pairing.
Now, on to the recipe!
Ingredients for the sweet rich short crust pastry
- 250g (1-¾ c) all purpose flour, sieved
- pinch of salt
- 140g (10 Tbsp) unsalted butter, chilled and cut into 1 x 1 cm cubes
- 3 Tbsp caster sugar
- 2 egg yolks, beaten, and mixed well with the chilled water
- 3-4 Tbsp fridge-cold water
Ingredients for the lemon filling, and the meringue
- 4 Tbsp cornflour
- 200g caster sugar
- 300ml water
- 4 egg yolks
- 2 large lemons (you’ll need the juice and grated rind from both)
Ingredients for the meringue
- 4 egg whites
- 200g caster sugar
Directions - starting with the pastry
-
-
- Weigh out the butter and cut it into 1 x 1 cm cubes (approx) then set these back into the fridge to keep cold.
- Separate the 2 eggs and put the yolks in a small bowl. Use a fork to beat these with 3-4 Tbsp of chilled water (depends on the size of your yolks; large yolks = a bit more water). Set this mixture in the fridge.
- Sift together the flour, salt, and sugar into the bowl of a food processor. Pulse a couple of times to incorporate and then scatter the fridge-cold butter on top. Give these ingredients a few short pulses and then run on and off at a bit longer intervals until the mixture resembles coarse sand. It is important that you DO NOT over mix this so as to have the butter forming a paste with the flour. Err on the side of under-mixing if you aren’t sure.
- When the butter/flour has reached a coarse sand texture, tip this into a medium mixing bowl and begin to slowly add the yolk/water mixture. Start by adding 2 Tbsp and give it a mix with a pastry cutter, or a fork, or two cutlery knives. You want to JUST bring the mixture together. As you go along, pinch a bit together with your fingers to test and feel how it’s holding together. When it is sticking, but not sticky, the pastry is ready to be formed into a one inch thick disk (about the size of a tea saucer) and placed in clingfilm, then set in the fridge for about 30 minutes.
- After the dough has rested and chilled it’s time to roll it out and portion into eight tart forms, ready for a blind bake. For this, you’ll need to take the dough from the fridge and roll it out on a lightly floured surface. Consider the size of your tart forms and cut out circles of dough that will fill the base and up the sides of the case. In my case, I used 10cm forms and used a 12cm circle cutter. When you’ve rolled, cut, and filled the cases with the dough, trim the edges and pop these unbaked cases back in the fridge for about 30 minutes to firm up again.
- Preheat the oven to 200C (400F)
- After the tart cases have chilled, place them on a large baking sheet and fit each case with a piece of crumpled parchment paper. Into this, you’re going to place a couple of tablespoons of ceramic baking beads or dry beans to keep the paper in place for a blind bake. Blind bake for 15-20 minutes. Check after 15 minutes by lifting the paper and seeing if the pastry looks dry and has a sandy texture.
- When the cases are baked (you don’t want them browning on the edges) remove the tray from the oven, remove the baking beans and parchment, and reduce the temperature to 180C (350F)
- MAKE THE FILLING: Prep the lemon filling by placing the cornflour, sugar and water into a medium saucepan, stirring to form a smooth paste. Over a medium heat, bring this mixture to a boil and stir continuously until the mixture becomes thick and translucent. Take this off the heat and allow to cool slightly before you whisk in the eggs. You can pass this mixture through a sieve to remove any scraggly bits that may appear.
- Finely grate the rind of the lemons being sure to avoid grating too deep so as not to include the white pith (this will make the batter bitter.) Juice the lemons over a small sieve to catch any pips or pulp. Add about ¾ of juice and rind to the egg mixture and taste for seasoning.
- Now, fill each case with a portion of the lemon filling being sure to not overfill the cases. You want to leave room to add the meringue on top after the first trip into the oven. Bake on the middle rack at 180C for about 10 minutes until you see a slight skin has formed across the top.
- As these are baking, you can make the meringue by whisking the four egg whites into stiff peaks and then adding 4 Tbsp of the caster sugar into the mix, 1 Tbps at a time, after each of these four additions beating the whites again to stiff peaks. After this initial four-step process, gradually add the rest of the sugar and beat the mixture to a state where it is stiff and shiny.
- Take the meringue mixture and gently spoon it on top of each tart, if you like, forming the classic peak in the middle that gently slopes to the sides. If you like, you can sprinkle a bit of sugar on top of these for extra crunch and browning. These now go in the oven for a final 10-15 minute bake until the tops are lightly browned. Do keep an eye on them and remove the tarts when they are nicely golden.
- Once out of the oven, let the tarts cool for a bit and then carefully remove each tart from the case by placing the tin over a small jar or glass to help ease the sides from the base.
- Serve at room temperature and enjoy every bite! These are best eaten on the day they are made.
-

-

A spectacular way to complement these tarts is with a glass of Pink Champagne or Prosecco.

